Butter or Bust: The Great Pie Crust Debate
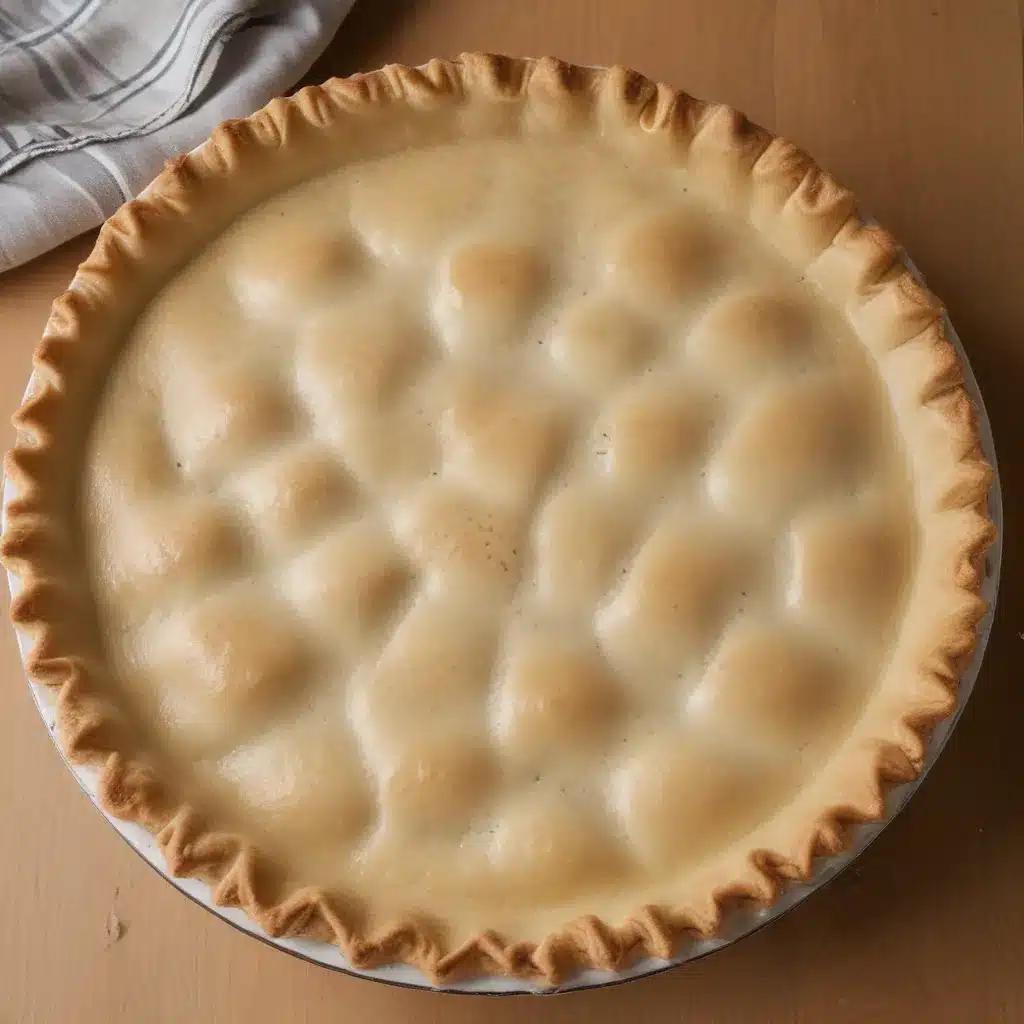
I’ve got to be honest with you – I used to be a pie crust scaredy-cat. Every time I’d roll out that dough, it would shrink up in the oven, turn out tough and leathery, or just plain fall apart. But after weeks of obsessive testing, I’ve cracked the code on how to make the most unbelievably flaky, tender, and downright delicious pie crust you’ve ever tasted.
Homemade pie crusts are about a thousand times more flavorful and satisfying than the store-bought kind. And contrary to what you might think, it doesn’t have to be as intimidating as it seems. I’ve tinkered with every last detail – from the type of fat to use, to the best way to cut in the butter, to the perfect resting and rolling methods.
One of the first things I discovered in my pie crust journey is that the type of fat you use makes a huge difference. I did extensive side-by-side testing with butter, shortening, and even a bit of vodka, and the results were pretty clear. While shortening can make the dough a little easier to work with, it just can’t compare to the rich, flaky glory of an all-butter crust.
As Tessa Arias from Handle the Heat explains, “Shortening has a higher melting temperature than butter. However, this also means that unlike the very hard chunks of cold butter that remain in the control dough, shortening is soft enough that it is easily overworked, resulting in a crumbly crust instead of a flaky crust.”
In my own tests, the all-shortening dough ended up being flat, tender, and frankly a little boring. But the all-butter version? Ridiculously light, flaky, and brimming with that classic buttery flavor that takes a pie to the next level. So unless you’re a die-hard shortening fan, I’d highly recommend sticking to 100% butter for your pie crust.
The Secret to Flaky Bliss
Okay, so we’ve established that butter is the way to go. But how exactly do you get that next-level flakiness? It all comes down to a few key techniques.
First up, cutting in the butter is crucial. You want those little pockets of cold butter to remain intact as the crust bakes, creating those signature flaky layers. Tessa recommends grating frozen butter on a box grater or pulsing it in a food processor until it’s the size of small peas. This prevents the butter from getting too soft and overworked.
Another game-changer is the resting period. After mixing the dough, you’ll want to wrap it up and let it chill in the fridge for at least a few hours, or even better, overnight. This allows the gluten to relax, which helps prevent shrinkage and toughness when the crust bakes.
And when it comes time to roll out the dough, be sure to keep it moving on a lightly floured surface. Overworking the dough can develop too much gluten, leading to a tough, dense crust. Instead, use a bench scraper to keep things sliding smoothly as you roll.
With these techniques in your arsenal, you’ll be well on your way to pie crust perfection. But the real secret weapon? Tessa’s “Best Ever Pie Crust” recipe – it’s the culmination of all her hard-won pie crust wisdom, and it’s guaranteed to give you the most flaky, tender, and downright delicious crust you’ve ever tasted.
The Sour Cream Surprise
Now, you might be thinking, “Okay, I get the butter and the technique, but is there anything else I can do to really take my pie crust to the next level?” Well, my friend, I’ve got just the thing: sour cream.
That’s right, adding a touch of sour cream to your pie dough can work wonders for the texture. As Tessa explains, “Sour cream acts as a tenderizer in baked goods, and I was curious to see if it would significantly affect the texture of pie crust.”
In my own testing, I found that the sour cream dough had a slightly richer flavor and an even more delicate, melt-in-your-mouth quality than the standard butter crust. The sour cream seems to work its magic, creating layers upon layers of flaky, buttery goodness.
Of course, you don’t want to go overboard – just a couple tablespoons of sour cream is all you need. And you’ll want to reduce the water in the recipe by a couple tablespoons to compensate. But trust me, this simple addition will take your pie crust to new heights of flakiness and flavor.
Putting It All Together
Alright, now that you’ve got all the secrets to ultra flaky pie crust success, it’s time to put them into action. Here’s a step-by-step guide to making the best pie crust you’ve ever tasted:
- Start with super-cold ingredients. Chill your butter, flour, and even your mixing bowl in the fridge or freezer until they’re nice and cool.
- Use that grated butter method to get those perfect pea-sized pieces. The key is to keep the butter from getting too warm and overworked.
- Mix in just enough ice water to bring the dough together – no more, no less. Too little and it’ll be dry and crumbly, too much and it’ll be tough.
- Let the dough rest in the fridge for at least a few hours, or even better, overnight. This relaxes the gluten and prevents shrinkage.
- Roll out the dough on a lightly floured surface, using a bench scraper to keep it moving and prevent sticking.
- For an extra-special touch, fold the dough in half a few times to create those beautiful flaky layers.
- If you want to get really fancy, try adding a couple tablespoons of sour cream to the dough – it takes the texture to new heights of deliciousness.
With these foolproof techniques in your back pocket, you’ll be cranking out the most show-stopping, Home Cooking Rocks-worthy pie crusts in no time. Happy baking!

