The Simplest Path to Sourdough Greatness
Alright, bread lovers, gather ’round. I’m about to let you in on a little secret that’s going to change the way you think about homemade sourdough. Forget the kneading, the complicated schedules, the fussy starters – this no-knead method is the key to artisan-quality loaves, with a fraction of the effort.
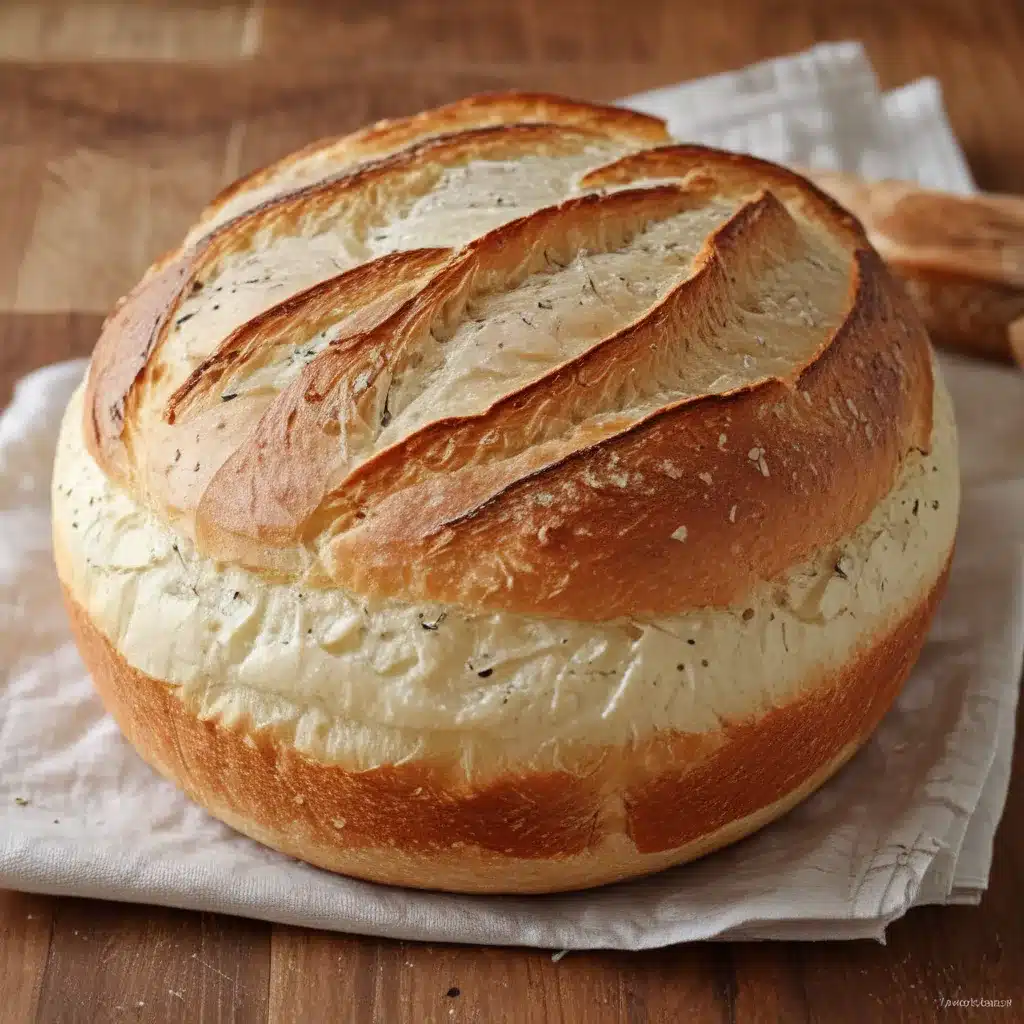
I discovered this magical formula a few years back, and it’s been a game-changer ever since. Picture it: fresh, crusty sourdough, with that signature tang and an airy, chewy crumb, all without breaking a sweat. Sounds too good to be true, doesn’t it? Well, my friends, the proof is in the pudding (or the bread, as it were).
The No-Knead Difference
Now, I know what you’re thinking – how can something so simple produce such impressive results? Well, let me tell you, the no-knead technique is a true marvel of modern baking. By letting the dough do the work for you through a long, slow fermentation, you end up with a bread that rivals anything you’d find at your local bakery.
The secret lies in the power of time and chemistry. As the dough rests and develops, the gluten strands strengthen on their own, without the need for manual kneading. And the sourdough starter? That’s where the real flavor magic happens. The longer fermentation allows the wild yeast and beneficial bacteria to work their delicious, tangy wonders.
Baking Bread, the Artisan Way
But don’t just take my word for it. Let’s dive into the step-by-step process and see how this no-knead sourdough comes together. First, you’ll need to get your hands on a healthy sourdough starter. If you don’t have one, don’t worry – Home Cooking Rocks has a fantastic guide to get you started.
Once you’ve got your starter ready to go, the rest is a breeze. Simply mix together the flour, water, and a touch of salt, then let the dough rest for 12-18 hours. During this time, the gluten will develop, and the flavors will meld together in perfect harmony.
After the long, initial rise, you’ll shape the dough and let it proof for another hour or so. Then, it’s time for the grand finale – the bake. Here’s where the magic really happens. As the bread hits the hot, steamy oven, the dough will spring to life, creating a beautiful, artisan-style crust and an incredibly light, airy crumb.
Customizing Your Loaf
Now, I know what you’re thinking – this all sounds great, but what if I want to tweak the recipe to suit my tastes? Well, my friends, that’s where the power of “baker’s percentages” comes in. By understanding the relative proportions of the ingredients, you can easily scale the recipe up or down, or even adjust the flour blend to your liking.
For example, let’s say you prefer a more whole-grain flavor. Simply swap out some of the all-purpose flour for whole wheat or rye, and adjust the hydration level accordingly. Or, if you’re in the mood for a lighter, airier loaf, try reducing the amount of water. The possibilities are endless, and with a little practice, you’ll be whipping up custom-made sourdough loaves like a pro.
Embrace the Imperfections
One of the best things about this no-knead method is that it’s wonderfully forgiving. No matter how your dough turns out, whether it’s a little too wet or a touch too dry, the end result is still bound to be delicious. After all, the beauty of homemade bread lies in its imperfections, right?
So, don’t stress if your first few loaves don’t look like they came straight out of a bakery window. Embrace the quirks, the unique shapes, and the character of your handmade creations. Each one will be a testament to your baking journey, and trust me, they’ll taste amazing no matter what.
Sourdough Secrets Revealed
Now, I know I’ve been teasing you with all this talk of no-knead sourdough perfection, but I haven’t forgotten the crucial details. Thanks to the brilliant minds at Breadtopia, Farmhouse on Boone, The Clever Carrot, Amy Bakes Bread, and The Perfect Loaf, I’ve got all the juicy details to share.
First and foremost, let’s talk about that all-important sourdough starter. As I mentioned, you’ll need a healthy, active culture to get the best flavor and rise. But don’t worry, even if you’re a complete beginner, these expert resources have got you covered with step-by-step guides to get your starter thriving.
Next up, the recipe itself. Now, the beauty of this no-knead method is its simplicity. We’re talking just a handful of ingredients – flour, water, salt, and your trusty sourdough starter. The key is finding the right balance of hydration, which can take a bit of experimentation, but these guides will walk you through it.
Putting It All Together
Alright, are you ready to dive in and become a no-knead sourdough master? I know I am! Just imagine the look on your family and friends’ faces when you present them with a golden, crusty loaf, bursting with flavor. It’s the kind of homemade treat that’ll have them begging for the recipe (and, of course, you’ll be more than happy to share).
So, what are you waiting for? Grab your mixing bowl, dust off your baking stone, and get ready to experience the joys of no-knead sourdough bread. Trust me, once you see how easy and rewarding it is, you’ll never go back to the kneading and fussing of traditional methods. Happy baking, my friends!

