The Chilly Truth About Leftovers
As a passionate home cook, I’ve learned that leftovers can be both a blessing and a curse. On one hand, they offer the convenience of having a delicious meal at the ready, saving me time and money. But on the other hand, if I don’t handle them properly, those leftovers can quickly turn into a ticking time bomb of foodborne illness.
That’s why I’m here to share my tried-and-true tips for freezing and reheating leftovers safely. Because let’s be real, nobody wants to end up with a case of the stomach flu after enjoying their hard-earned culinary masterpiece.
The Frozen Frontier: Mastering the Art of Leftovers Preservation
The first step in ensuring your leftovers stay fresh and safe is to get them into the freezer as soon as possible. According to the USDA Food Safety and Inspection Service, perishable foods like cooked meat, poultry, fish, and eggs need to be refrigerated within 2 hours of cooking (or 1 hour if the temperature is over 90°F).
Now, I know what you’re thinking – “But I just spent all that time slaving over a hot stove, and now I have to cool it down before freezing?” Trust me, I feel your pain. But taking the extra step to let your leftovers cool rapidly is essential for preventing the growth of harmful bacteria.
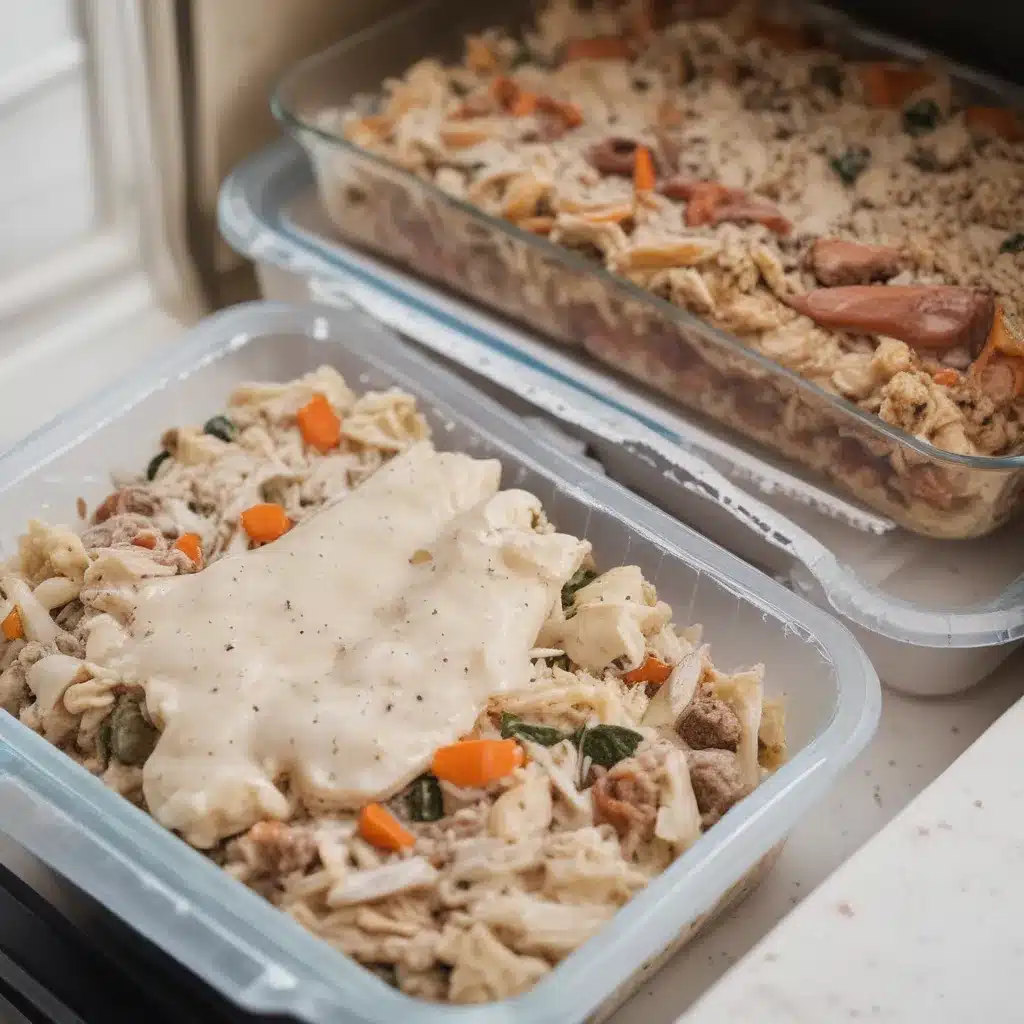
Budget Bytes has a great tip for this – divide large amounts of food into shallow containers before refrigerating. This allows the heat to dissipate quickly, so your leftovers can safely make the transition from the dinner table to the freezer.
Once your leftovers are properly cooled, it’s time to get them into the deep freeze. Allrecipes recommends using shallow, airtight containers or resealable plastic bags to store your leftovers. This helps prevent freezer burn and keeps the flavors locked in.
And let’s not forget about portion control! Instead of freezing giant servings that will just sit in the back of your freezer for eternity, try dividing your leftovers into individual or family-sized portions. That way, you can thaw and reheat only what you need, without wasting any precious food.
The Reviving Ritual: Safely Reheating Frozen Leftovers
Alright, now that your leftovers are safely tucked away in the freezer, it’s time to talk about the grand unveiling – the reheating process. This is where a lot of people can go wrong, leading to some seriously unpleasant consequences.
The key is to make sure your leftovers reach a safe internal temperature before digging in. According to the USDA, that means heating them to at least 165°F. Anything less, and you’re just asking for trouble.
Now, I know what you’re thinking – “But won’t that turn my once-delicious leftovers into a dried-out, rubbery mess?” Fear not, my friends! With a little know-how, you can reheat your frozen leftovers to perfection.
The folks over at BBC Good Food have some great tips for this. They recommend cutting larger items of food, like roasts or hams, into smaller portions before reheating. This helps them heat through evenly, without overcooking the outside.
Another pro tip? Use low-and-slow reheating methods, like the oven or a slow cooker. This gentle heat will gradually warm up your leftovers, retaining their moisture and flavor. And don’t forget to stir or flip them occasionally to ensure even heating.
Putting It All Together: A Leftovers Roadmap for Success
Alright, let’s recap the key steps to freezing and reheating leftovers like a pro:
- Chill your freshly cooked leftovers quickly by dividing them into shallow containers.
- Freeze your leftovers in airtight containers or resealable bags, portioning them out for easy thawing and reheating.
- When it’s time to enjoy your frozen leftovers, make sure to reheat them to a safe internal temperature of 165°F, using low-and-slow methods like the oven or slow cooker.
By following these simple guidelines, you can turn your leftovers from a potential health hazard into a delicious and convenient meal option. And who knows, you might even start looking forward to those extra servings, knowing they’ll be just as tasty (and safe) as the day you first cooked them.
Remember, when it comes to leftovers, knowledge is power. So next time you find yourself with a fridge full of potential culinary gold, don’t let it go to waste – put these tips to the test and enjoy your creations to the fullest.
And if you’re ever in need of more inspiring recipes or cooking advice, be sure to check out Home Cooking Rocks – your one-stop-shop for all things delicious and nutritious.

