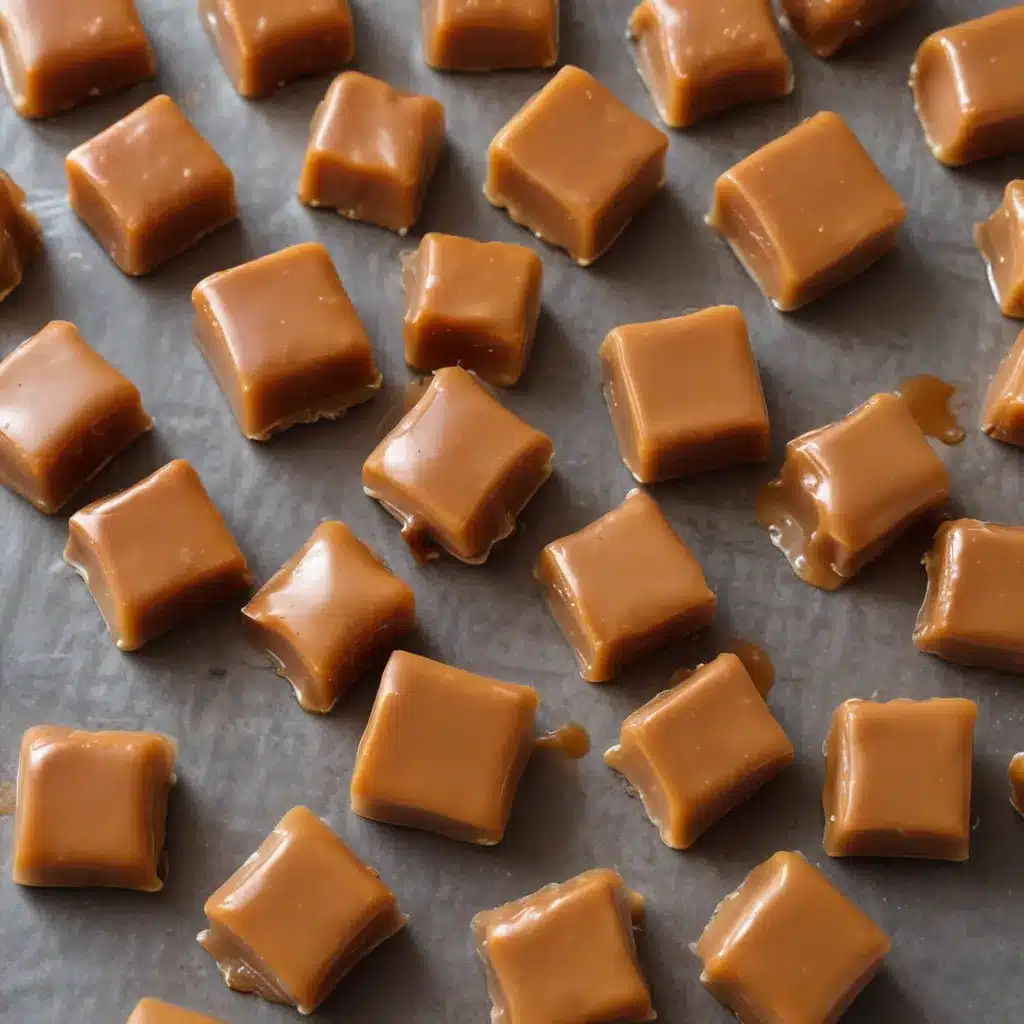
The Quest for the Perfect Caramel
I’ve always had a bit of a love-hate relationship with homemade caramels. On one hand, there’s nothing more heavenly than that first bite of a rich, buttery caramel – the way it melts on your tongue, the warmth and sweetness that envelops your taste buds. But on the other hand, the process of actually making those caramels has always felt like a high-stakes game of culinary roulette to me. Will this batch turn out silky smooth and impeccably chewy, or will it end up a grainy, scorched mess that ends up in the trash?
For years, I relegated caramel making to the realm of dessert sorcery, convinced that the perfectly cooked caramel was a mystical unicorn that only the most seasoned pastry chefs could conjure. That is, until my Aunt Marilyn let me in on a little secret – a “foolproof” caramel recipe that requires zero stirring and virtually no babysitting. I was skeptical at first, but after giving it a try, I was blown away. These caramels are not only easy to make, but they rival any premium confection you’d find at an upscale patisserie. And the best part? I get to enjoy the satisfying triumph of homemade caramel greatness without the usual dinner-table anxiety attack.
The Foolproof Formula
So, what’s the secret to this “foolproof” caramel formula? It all comes down to technique and temperature control. Unlike traditional caramel recipes that have you standing vigilantly over a bubbling pot, stirring constantly to prevent scorching, this method keeps things simple.
The key is to use a heavy-bottomed saucepan – nothing fancy, just a trusty old pan will do. Then, you gently combine the first set of ingredients (sugar, corn syrup, cream, and butter) and let them melt together over moderate heat. As Mel from Mel’s Kitchen Cafe explains, the trick is to maintain a steady simmer without letting the mixture burn. If the caramel stops simmering, you can simply increase the heat a bit until it’s back on track.
The real magic happens when you start monitoring the temperature. Using a reliable candy thermometer (I’m a big fan of the electronic model Mel recommends), you’ll want to cook the caramel to a perfect 248°F. This temperature is the sweet spot – literally – where the caramel develops that signature deep, rich flavor and chewy texture.
Once the caramel reaches 248°F, you simply remove it from the heat, stir in a touch of vanilla, and pour the silky liquid gold into a prepared pan. After letting it cool and set, you’re left with an irresistible batch of homemade caramels that are so good, you might want to hide them from your family (or not, I won’t judge).
Flavor Variations and Mix-Ins
Now, while the basic recipe is an absolute showstopper on its own, the fun really starts when you start experimenting with fun flavor combinations. Cloudy Kitchen has some great tips for jazzing up your caramels, like adding a touch of anise or cinnamon extract for licorice or cinnamon-infused treats.
You could also try swirling in melted chocolate, sprinkling in a pinch of sea salt, or even folding in chopped nuts or dried fruit. The possibilities are endless! And if you really want to get creative, you can even mold the caramel into cute shapes or dip them in chocolate for an extra-indulgent experience.
The Caramel Connoisseur’s Toolkit
Of course, no caramel-making adventure is complete without the proper equipment. In addition to that trusty candy thermometer, there are a few other tools that can help take your homemade caramels to the next level:
- A heavy-bottomed saucepan: As mentioned earlier, a sturdy pan is key to preventing scorching and ensuring even heat distribution.
- A silicone baking mat or parchment paper: This will make it a breeze to remove the cooled caramels from the pan.
- A sharp knife or caramel cutter: For slicing the cooled caramels into perfect bite-sized pieces.
- Airtight containers: To store your caramels and keep them fresh.
With the right tools and a little bit of practice, you’ll be whipping up batches of homemade caramel perfection in no time. And the best part? You can proudly display your caramel creations on HomeCookingRocks.com, the go-to destination for all things culinary.
Caramel Conquering: A Step-by-Step Guide
Okay, let’s get down to business. Here’s a step-by-step guide to creating your own foolproof homemade caramels:
- Grease an 8×8-inch baking pan and line it with parchment paper, leaving some overhang on the sides. Set aside.
- In a heavy-bottomed saucepan, combine the sugar, corn syrup, heavy cream, and butter.
- Bring the mixture to a gentle simmer over medium heat, stirring occasionally to incorporate the ingredients.
- Once the mixture is simmering, stop stirring and allow it to cook, undisturbed, until it reaches 248°F on a candy thermometer.
- Remove the pan from the heat and stir in the vanilla extract.
- Carefully pour the hot caramel into the prepared baking pan, using a spatula to scrape the sides.
- Allow the caramel to cool completely at room temperature, which can take several hours.
- Once cooled, use the parchment paper overhang to lift the caramel block out of the pan. Peel off the paper and use a sharp knife or caramel cutter to slice the caramel into desired shapes and sizes.
- Wrap the individual caramels in parchment or cellophane for storage. They’ll keep for up to 2 weeks at room temperature.
And there you have it – your very own batch of foolproof homemade caramels! HomeCookingRocks.com has officially given you the keys to caramel kingdom. Now go forth and indulge your sweet tooth to your heart’s content.


