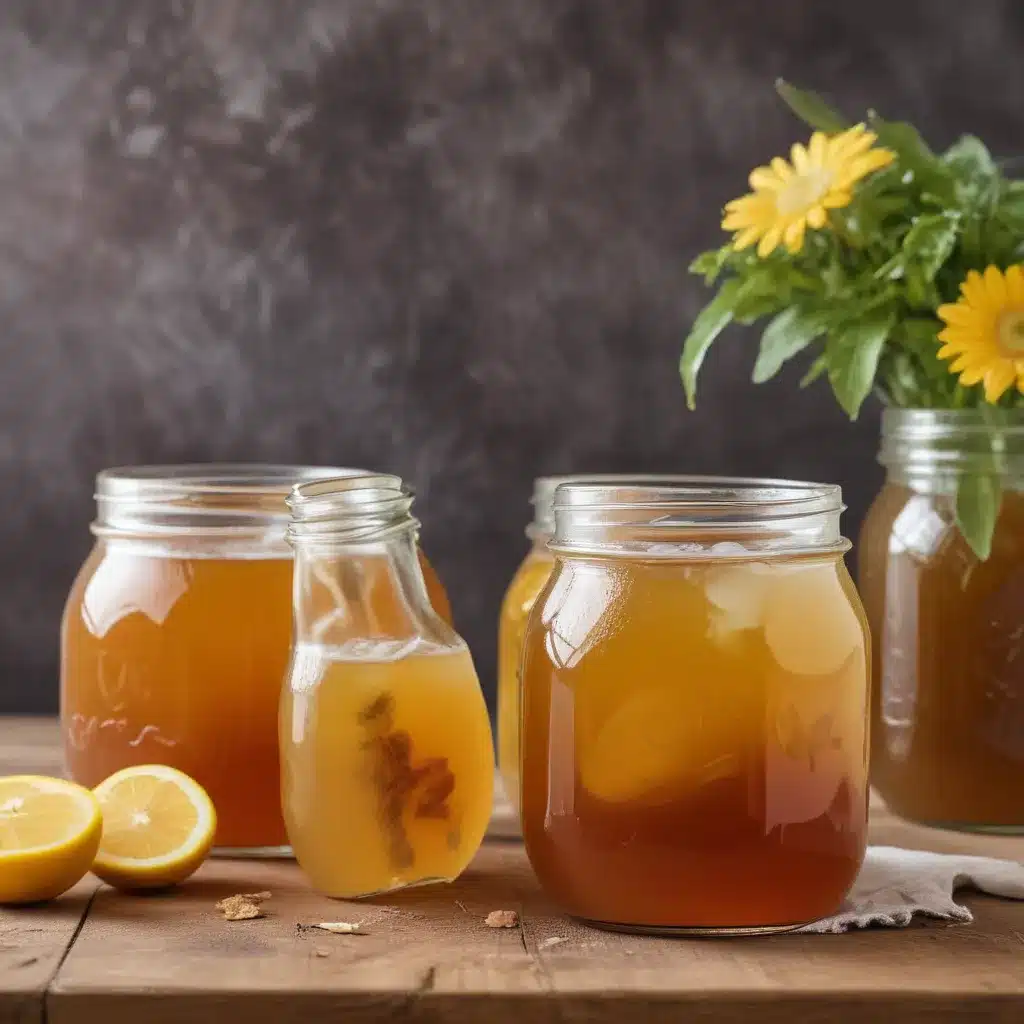
Conquering the Kombucha Conundrum
I’ll admit it, I was once a kombucha skeptic. The thought of drinking what resembled a strange, gelatinous alien lifeform floating in vinegary tea did not exactly excite my tastebuds. And at over $4 a bottle, I couldn’t justify the expense, especially when I could buy a whole crate of heirloom tomatoes for that price.
But then something changed. I went from questioning kombucha, to loving kombucha, to making my own kombucha – with a few hiccups along the way. You see, fear is born from ignorance, and before I really understood what kombucha is and how it’s made, I was filled with skepticism, if not outright terror, about the whole process.
My friend Rebecca was brewing her own, and the SCOBY (the symbiotic culture of bacteria and yeast that forms the “mother” of the fermented tea) looked like something straight out of a medical museum. It was this rubbery, liver-like disc that frankly creeped me out. But when I finally decided to take the plunge and taste kombucha, I was instantly hooked. The sharp, tangy, slightly sweet flavor was like a revelation – a sippable vinegar that was everything I loved about shrubs, but more refreshing and fizzy.
Embracing the Kombucha Craze
That’s when I decided to take the plunge and start brewing my own. I’ll be honest, I was scared at first. Actually, scared throughout most of the process. And since I was embarking on this new project in front of my colleagues at the office, the whole endeavor felt particularly high-pressure.
My coworkers watched me tear up when I had to throw away an entire SCOBY due to a fly infestation. They dealt with my frantic texts and emails, my constant sighs and head-scratching. Was it worth it in the end? Absolutely. Not just for the delicious bottles of kombucha in the fridge (which tasted far better than even the fanciest store-bought varieties), but for the sense of accomplishment. This became “my project” at the office – my legacy.
And let me tell you, I learned a whole lot more than I expected, including a whole new kombucha lexicon of terms like “‘booch,” “starter,” and “second fermentation.” Seriously, once you start researching homemade kombucha, you may just find yourself tumbling down a rabbit hole. And hey, maybe you’ll see me down there!
The Science Behind the ‘Booch
Part of what makes kombucha so fun to drink is the carbonation. You’re probably familiar with carbonation in the context of soft drinks or sparkling water, but what exactly should you expect from the fizz in kombucha?
The air bubbles in kombucha are the result of the live cultures used to make it. As sugar is added to the beverage, the cultures get to work eating it up (because who doesn’t love a tasty sugar snack?). This causes a chemical reaction that produces carbon dioxide, which in turn creates that signature kombucha fizz.
Kombucha is just one of many fermented foods and beverages we consume these days, joining the ranks of yogurt, sauerkraut, pickles, and other gut-friendly edibles. As Sandor Ellix Katz writes in his book The Art of Fermentation, “Kombucha is sugar-sweetened tea fermented by a community of organisms into a delicious sour tonic beverage, sometimes compared to sparkling apple cider.”
Cultivating the SCOBY
At the heart of this fermentation process is the SCOBY. Now, I have to warn you – this isn’t a cute, cuddly little creature. Picture a dense, opaque, rubbery disc that smells like vinegar. Even kombucha lovers will admit that the SCOBY is a little skeevy to look at. But it’s an essential part of the kombucha-making process.
The SCOBY, which stands for “symbiotic culture of bacteria and yeast,” is the mother culture that kickstarts the fermentation. And you’ll need some of this starter liquid, known as “starter tea,” to get your own kombucha brewing. As long as your homemade ‘booch has those live, active cultures, you can use it to start a new batch. If you’ve already polished off your latest homemade stash (which, let’s be real, is probably the case), you can also use store-bought kombucha to get the process going.
The Kombucha Countdown
To get started, you’ll need a few key pieces of equipment – a large pot to brew your starter tea, wide-mouth glass jars to house the SCOBY and kombucha during fermentation, some breathable fabric to cover the jars, and bottles with tight-fitting lids for the second fermentation.
Once you’ve got your setup ready to go, the process is pretty straightforward. First, you’ll steep your tea bags in boiling water, dissolve the sugar, and let the whole mixture cool down before adding the SCOBY and starter tea. Then it’s just a matter of covering the jar, finding a cozy spot for it to hang out for 2-4 weeks, and letting the fermentation magic happen.
After about a week, you can start tasting the kombucha to see if it’s reached your desired level of tartness. Personally, I found that 10 days was the sweet spot for my tastes. When you’re happy with the flavor, you’ll transfer the SCOBY to a new jar with some of the starter liquid, then bottle up the finished kombucha for its second fermentation.
Flavoring your ‘Booch
During this second fermentation, you can get creative with flavor additions. I started out playing it safe, letting the kombucha shine on its own. But my colleagues quickly convinced me that experimenting with different fruits, herbs, and spices is half the fun.
Just be careful not to go overboard with the add-ins – too much extra sugar from fruit or juice can lead to too much carbonation and potentially explosive bottles. I’ve had good luck with flavors like ginger, pineapple, and even a chili-lime version. The options are endless, so let your inner mixologist shine!
Brewing kombucha at home may seem intimidating at first, but I promise it’s a totally doable (and incredibly rewarding) project. With a little patience and the right equipment, you can craft your own delicious, fizzy ‘booch right in your own kitchen. And who knows, maybe you’ll even find yourself getting a little obsessed, just like I did. Happy brewing!


